
Silage and hay equipment: sizing the mower-to-baler chain for your weather window
What each grass machine contributes to forage quality, the dry matter and wrapping targets AHDB publishes, the moisture limits for safe hay, and a simple way to check your chain keeps pace.
The editorial team that prepares and reviews FarmFleetSpecs reports and guides.
Think in terms of the slowest machine
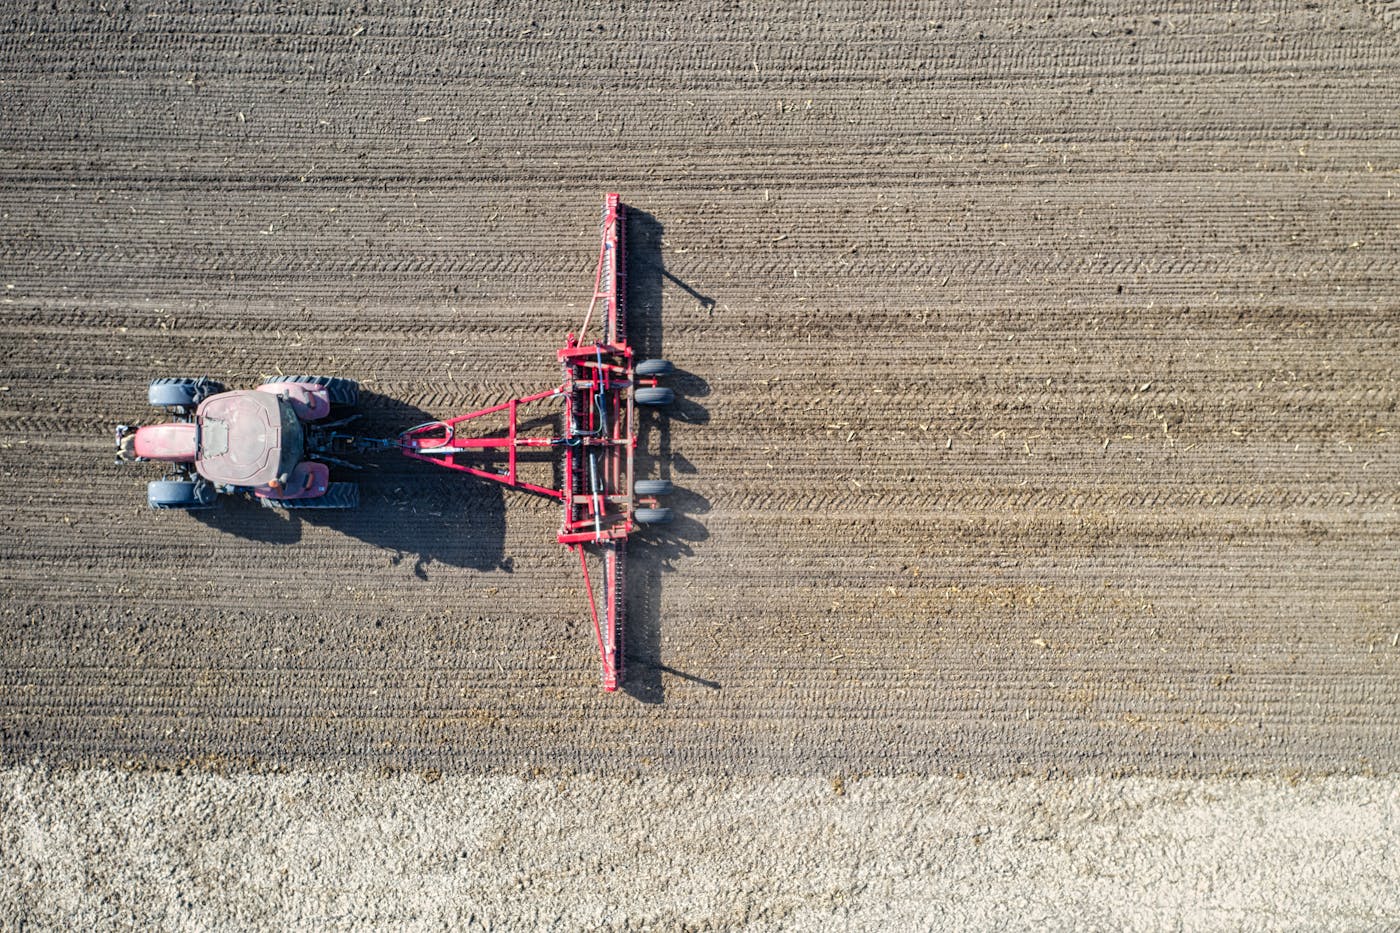
Grass conservation is a sequence: mow, spread, row up, then bale or chop. Quality is decided in the field, and each machine either protects it or loses it. The practical test for any new purchase is whether it keeps pace with the machines either side of it. A fast mower feeding a slow baler just leaves more grass lying too long.
A useful way to compare machines is effective field capacity: working width in metres multiplied by forward speed in km/h, multiplied by a field efficiency factor for turning and overlaps, divided by 10, gives hectares per hour. For example, a 3 m mower at 10 km/h with 70% efficiency covers about 2.1 ha/h. A 9 m mower combination at 12 km/h with the same efficiency covers about 7.6 ha/h. Do the same sum for your tedder, rake and baler, using realistic speeds for your fields, and the bottleneck usually shows itself.
The efficiency factor is an assumption, not a fixed number. Small, irregular fields with tight gateways lower it; large rectangular fields raise it. Use your own records of hours and hectares where you have them.
Mowers and conditioners
Disc mowers are now the default for silage and hay because they cut cleanly at speed. Front and rear combinations, or triple mowers, give wide coverage from one tractor. Conditioners, either steel or nylon tines or rubber rollers, crack the stem so moisture escapes faster. AHDB's Better Returns manual on making grass silage says a conditioner can increase wilting speed by up to 20%.
Set cutting height with care. AHDB advises leaving a stubble of at least 5 cm so air can move under the swath, and 7-8 cm for red clover leys. Cutting lower picks up soil, which brings ash and unwanted bacteria into the silage. For red clover, AHDB also advises no conditioner and no tedding, to reduce leaf loss.
- Check the cutterbar suspension and how quickly the mower follows ground contours at your working speed.
- Ask about disc and blade change: quick-change blade holders save time in stony fields.
- Confirm the tractor's PTO speed and power match the mower combination you are considering.
- Check transport width and height for your lanes and gateways.
Tedders and rakes
AHDB's guidance is to spread the crop quickly and widely, because water loss is highest in the first two hours after cutting, and to wilt as rapidly as possible for a maximum of 24 hours (48 hours for crops high in clover). A tedder spreads a heavy swath across the full width so it dries evenly. In hay, repeated tedding is often needed; in silage one pass may be enough.
Rakes gather the crop into a row sized for the baler or forage harvester. AHDB recommends rowing up into even, box-shaped swaths immediately before pick-up. Rotary rakes are the common choice; belt mergers move the crop without dragging it on the ground and can reduce soil contamination, but they cost more.
For both machines, the height setting matters more than the brand. Tines set too low scrape up soil and manure. Check tine height on the move, not just on the yard, and replace bent or missing tines before the season.
Clamp or bales
AHDB's manual sets the trade-off out plainly. Clamps harvest large areas faster and are easier to feed out, but they need infrastructure, effluent collection and skilled consolidation and sheeting. Bales suit small areas and surplus grass from rotational grazing, and each bale can be matched to a class of stock. AHDB notes that dry matter losses can be higher in clamps than in bales, citing 25% against 8%, and attributes much of the difference to poor consolidation and sheeting.
For clamp silage, AHDB advises a target of 28-32% dry matter, chop length adjusted to dry matter (2.5-5 cm at 28-35% DM), filling in layers no deeper than 15 cm, rolling right to the edges and sheeting each night. Those targets decide what you need from a forage harvester or a self-loading wagon, and how much buckrake and rolling capacity you need at the clamp.
Baled silage targets
Silage for bales can be wilted further, to 35-45% dry matter. AHDB's checklist for baled silage is specific enough to use as a buying and operating guide:
- Dense, well-shaped bales: fewer, heavier bales per hectare cut wrapping costs. Balers with a chopping rotor produce denser bales; AHDB notes chopped material gives bales 8-12% heavier.
- Net wrap that covers the bale edge by 2-5 cm, to smooth the shoulders before wrapping.
- Wrap within 12 hours of baling, ideally at the stack site; if wrapped in the field, move bales within hours.
- High-quality film pre-stretched 55-70%.
- Six layers of wrap on the barrel of a round bale; rectangular bales need eight.
- Stack on a level site more than 10 m from watercourses. AHDB, following HSE guidance, gives stacking height by dry matter: one bale high below 25% DM, two high at 25-35%, three high above 35%.
Hay: moisture is the safety limit
Hay must be dry enough before it is baled, both for quality and for fire safety. University of Minnesota Extension's guidance classes 10-15% moisture at baling as recommended with the least fire risk, 16-20% as likely to mould without a preservative, 21-25% as a moderate fire risk, and over 25% as severe heat damage and high fire risk.
After baling, watch the stack. The same guidance treats internal bale temperatures below 130F (about 54C) as low risk, 150F (about 66C) as a moderate risk that needs frequent checks, and 175-190F (about 79-88C) as a sign that fire is imminent and the fire service should be called. A rapid rise matters as much as the absolute figure. A long hay probe thermometer is a cheap addition to the kit list.
A baler-mounted moisture sensor and a preservative applicator give more flexibility in marginal weather, but they do not remove the need to check bales after storage.
Before you buy
List your acreage for each cut, the typical number of workable days in your area, and whether you do the work yourself or use a contractor. Then compare your planned mower, tedder, rake and baler or harvester capacities using the field capacity sum above. Grass machines work for a few weeks a year, so compare ownership against contractor rates; our guide to machinery sharing and rental for small farms covers this. For the round-versus-square decision in more depth, see our baler guide, and use the FarmFleets machine search to check the PTO power of the tractors you would pair with each machine.
Sources
Sources checked 2026-09-25
- AHDB: Making grass silage for Better Returns (Manual 5) — checked 2026-09-25
- AHDB: Making good grass silage - back to basics — checked 2026-09-25
- University of Minnesota Extension: Preventing hay fires — checked 2026-09-25
Corrections and feedback
See our Corrections Policy, contact the team, or Report incorrect information.
Compare machines before you buy.
Use FarmFleetSpecs to check specs, photos, source confidence and recorded recall notices for tractors, combines and other farm equipment.