
Combine settings: cleaner grain and less loss at harvest
The grain tank tells you what you kept, not what you lost. Here is how threshing, separation and cleaning settings interact, how to measure losses behind the machine, and which setting to change first.
The editorial team that prepares and reviews FarmFleetSpecs reports and guides.
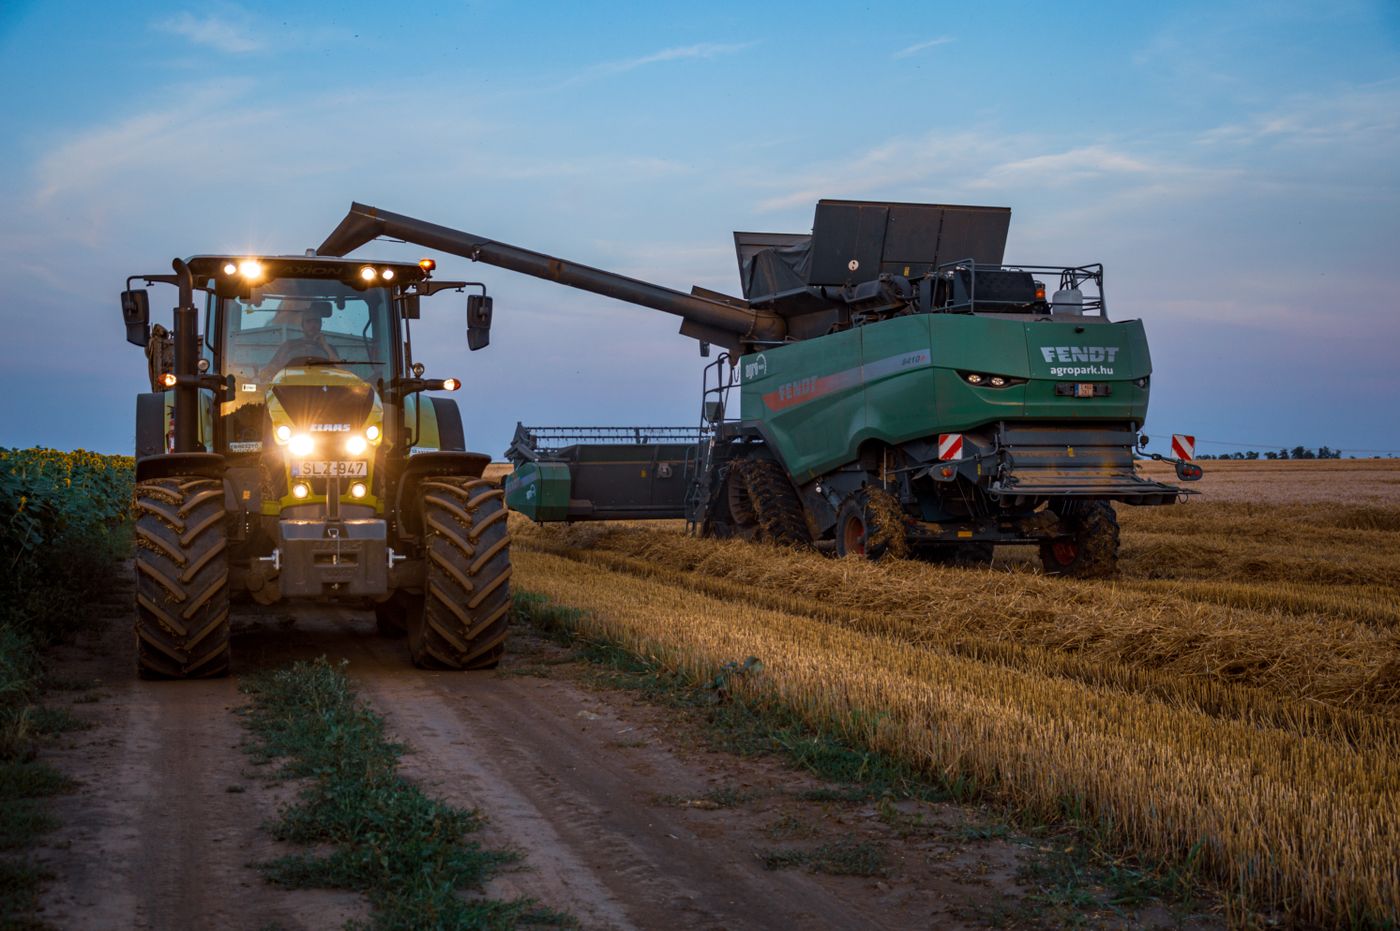
Why setup is worth the time
Harvest is when a year's work is either banked or lost. A well-set combine keeps clean, undamaged grain in the tank and leaves little behind. A badly set one throws grain out of the back, cracks what it keeps, or fills the tank with chaff and weed seeds. From the cab, both can look the same.
University of Georgia Extension's guide to measuring field losses warns that losses of 10% or more are not unusual, when they should be in the 2-4% range. The only way to know where you sit is to stop and look behind the machine.
How a combine separates grain from everything else
It helps to picture the job in stages. The header cuts and gathers the crop and feeds it in. The threshing system (drum and concave, or rotor and concave) rubs the grain free from the ears or pods. The separation system (straw walkers or the rear of the rotor) shakes out the remaining free grain from the straw. The cleaning system uses the fan and sieves to drop clean grain into the tank while blowing chaff and light material out of the back.
Each stage affects the next. Close the concave too far and you crack grain and break up straw, overloading the sieves with short material. Open it too far and grain stays in the heads. Too much fan blows grain over the back; too little leaves chaff in the sample. Good setup is about balance across the whole machine, not chasing a single dial.
- Drum or rotor speed: how aggressively the crop is threshed.
- Concave clearance: how hard the crop is rubbed against the concave.
- Fan speed: how much air lifts chaff away from the grain.
- Upper (chaffer) and lower sieve openings: what falls through to the tank and what goes to the returns or out the back.
- Forward speed and header setup: how much material the machine has to handle, and how evenly.
Measuring losses: a method you can repeat
The extension method used across the US separates losses by source. First, check the standing crop in front of the combine for grain already shed on the ground; that pre-harvest loss is not the combine's fault. Next, run the combine into the crop for a short distance, stop, back up, and count grain on the ground between the standing crop and where the header was, which gives header loss. Finally, count grain behind the machine in the area the straw and chaff fell on, which gives total loss; subtract header and pre-harvest losses to find threshing, separation and cleaning losses. Iowa State Extension suggests disengaging the straw chopper or spreader for this check so the material falls in a windrow you can search.
University of Georgia Extension uses a 10 sq ft frame and gives these approximate equivalents for 1 bushel per acre of loss: 200 kernels of wheat, 140 of barley, 100 of oats and 40 soya beans in 10 sq ft. Iowa State gives two maize kernels or four soya beans per square foot as 1 bushel per acre.
Farmers working in metric units can use a simple formula instead: loss in kg/ha is approximately the number of seeds per square metre multiplied by the thousand-grain weight (TGW) in grams, divided by 100. For example, 50 wheat grains per square metre with a TGW of 45 g is about 22.5 kg/ha. Check the TGW for your own crop, as it varies widely between varieties and seasons, and count several frames to allow for variation across the width of the machine.
Reading the evidence
Where you find the grain tells you what to change. Fixing the right thing matters, because turning the wrong dial often makes a different problem worse.
- Unthreshed heads or pods behind the machine: threshing too gentle; increase drum or rotor speed or close the concave slightly.
- Cracked grain or a lot of broken straw in the tank: threshing too aggressive; reduce speed or open the concave.
- Free grain in the straw from the walkers or rotor: separation overloaded; slow forward speed or check for blockages and wear.
- Free grain blown out with the chaff: too much fan or sieves too closed; reduce fan or open the upper sieve slightly.
- Chaff, weed seed or unthreshed heads in the tank: too little fan or sieves too open; adjust fan and lower sieve, and check returns.
- Grain or heads on the ground under the header's path, above the pre-harvest level: header losses; check cutting height, reel speed and position, and knife condition.
Forward speed and even feeding
Forward speed is the setting that costs nothing to change. Drive too fast and the machine is fed more than it can thresh, separate and clean, so losses climb and the sample suffers. Iowa State advises adjusting ground speed to keep the threshing units running near full capacity as yield varies; in practice that means slowing in heavy crops and laid patches. A useful routine is to find the speed at which losses start to rise, then settle a little below it.
Even feeding matters too. A combine works best with a steady, full feed across the width of the header. Adjust cutting height, reel speed and position to keep the flow even. Iowa State suggests setting the reel speed about 25% faster than ground speed in soya beans as a starting point. Ragged, lumpy feeding upsets threshing and cleaning and causes surges of loss.
Adjusting through the day and between crops
Crops change during the day. Straw is tougher and damper in the morning and after dew, then dries through the afternoon. Dry crop threshes more easily but is more prone to cracking and shedding, and dry, brittle straw can overload the sieves with short material. Repeat a quick loss check when conditions change noticeably, rather than relying on the morning's settings.
Different crops need very different baselines, from cereals to oilseed rape to beans. Start from the manufacturer's recommended settings for the crop in the operator's manual or the combine's display, then fine-tune from your own loss checks. Record what worked for each crop and field; our guide to farm data ownership covers how to keep that record under your control.
After the combine: protecting what you kept
A clean, undamaged sample is easier to dry and store. AHDB's grain storage guidance advises drying cereals with moisture at or above 18% immediately and keeping them below 14.5% for safe storage. Plan trailers, intake and drying before harvest starts so the combine is not left waiting; our guides to harvest logistics and grain storage and energy efficiency cover that side of the chain.
If you are thinking of upgrading or hiring a combine, compare grain tank size, unloading rate, cleaning area and header options on FarmFleets search or in the combine harvester category. A larger machine set badly will still lose grain; setup comes first.
Operator checklist
Run through this list when you start a field, and again if the crop, time of day or sample changes.
- Check pre-harvest shedding in the standing crop.
- Measure header loss and total loss with a frame or tray.
- Inspect the tank sample for cracked grain, chaff and weed seed.
- Adjust threshing first, then separation, then cleaning, one setting at a time.
- Match forward speed to crop and machine capacity.
- Set header height and reel for an even, full feed.
- Record the final settings for the crop and field.
Sources
Sources checked 2026-09-25
- University of Georgia Extension: Measuring Field Losses from Grain Combines (B973) — checked 2026-09-25
- Iowa State University Extension: Verifying combine adjustments during crop harvest — checked 2026-09-25
- AHDB: Grain storage moisture targets for cereals and oilseed rape — checked 2026-09-25
Corrections and feedback
See our Corrections Policy, contact the team, or Report incorrect information.
Compare machines before you buy.
Use FarmFleetSpecs to check specs, photos, source confidence and recorded recall notices for tractors, combines and other farm equipment.